
Potting & Soil Mixes
DIY Potting Soil: How to Make Your Own Mix at Home
The short answer
DIY potting soil is a blend of compost or coco coir, perlite or pumice for drainage, and a small amount of aeration material like bark or vermiculite, mixed in roughly equal parts to hold moisture without staying soggy.
Last updated September 2026
| Base ingredient | Compost, coco coir, or aged bark |
|---|---|
| Drainage ingredient | Perlite, pumice, or coarse sand |
| Common ratio | 1 part base : 1 part drainage : 1 part aeration |
| pH range for most houseplants | 6.0 to 6.8 |
| Shelf life once mixed | Best used within a few months |
Scroll for more →
What's covered15
- What goes into DIY potting soil
- Why make your own potting mix
- Basic DIY potting soil recipe
- Adjusting the recipe for different plants
- Ingredients explained
- How to mix it properly
- Storing homemade potting soil
- Should you sterilize your ingredients?
- Common mistakes to avoid
- Tools that make mixing easier
- Testing whether your mix drains well
- Adjusting for climate and pot type
- Reusing and refreshing old potting mix
- Signs your DIY mix needs adjusting
- Frequently asked questions
What goes into DIY potting soil
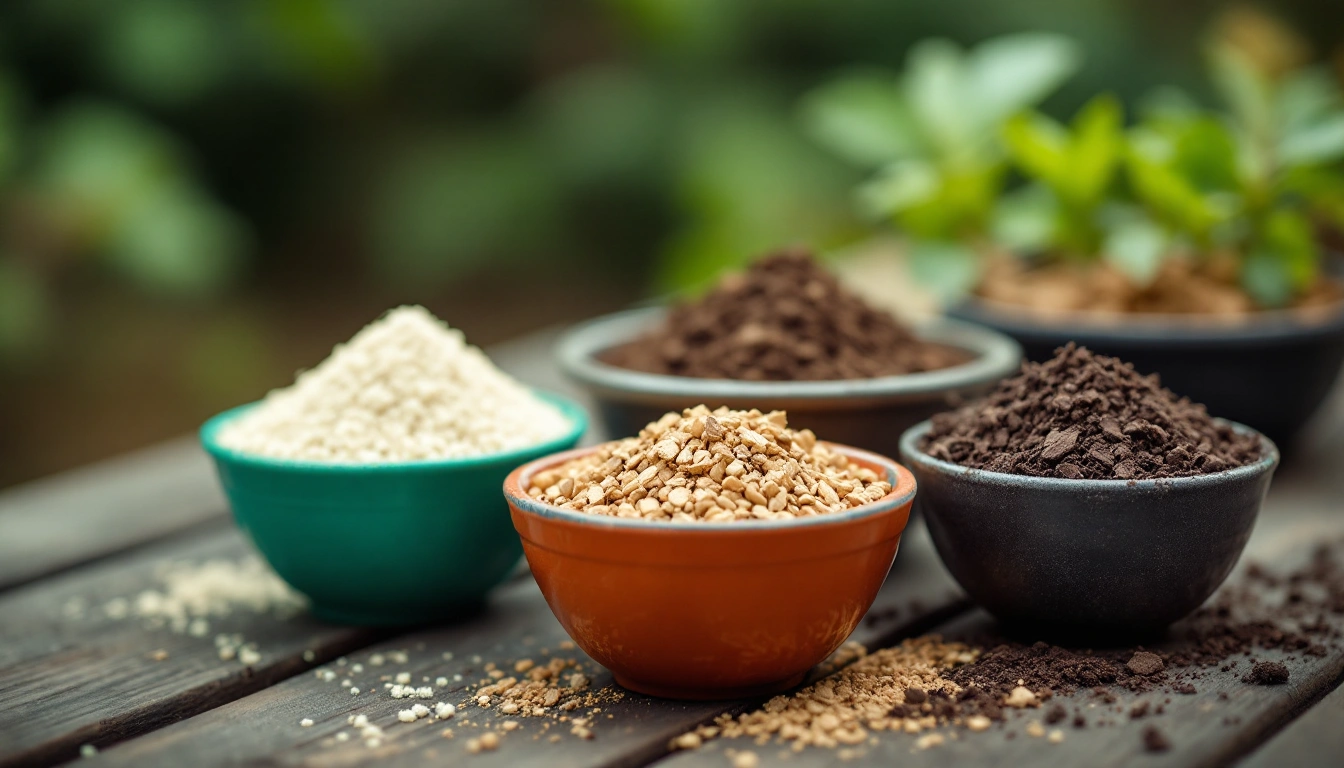
DIY potting soil can use compost or coco coir as its base. Perlite or pumice helps extra water drain. Bark can add larger air gaps, while vermiculite holds some water. A mix of these parts can stay damp without turning soggy.
Making your own soil gives you control over each part. You can change the ratio for a succulent or a tropical plant. You can also skip extras you do not want. Bulk parts may save money when you fill many pots.
Why make your own potting mix
Bagged soil works well for many plants. A home mix still has some clear benefits.
Cost at scale. Bulk bags of perlite, coir and compost can cost less per pot. The saving grows when you have many plants.
Control over texture. A succulent needs a much coarser mix than a peace lily. A home recipe lets you set the ratio for each plant.
Freshness. Bagged soil can sit on a shelf for a long time. With a home mix, you know how old each part is.
Fewer unwanted extras. Some bagged mixes have wetting agents, feed pellets or water-holding crystals. A DIY mix lets you choose plain parts.
Basic DIY potting soil recipe
A solid, general-purpose recipe for most houseplants is:
- 1 part compost or high-quality potting soil (as the base)
- 1 part coco coir or peat moss (for water retention)
- 1 part perlite or pumice (for drainage and aeration)
Mix the parts in a large bucket or tub. Stop when the color and feel are even. Break up dry coir and clumps of perlite.
This ratio can suit pothos, philodendron and peace lily. It holds some water but still lets the rest drain. Test the batch before you use it for every plant.
Adjusting the recipe for different plants
Not every plant wants the same mix. Adjust the base recipe depending on what you're potting.
For succulents and cacti
Succulents and cacti need fast drainage. Start with:
- 1 part potting soil or compost
- 1 part coarse sand or pumice
- 1 part perlite
This blend should drain in seconds and dry soon after. Change the ratio if it stays wet in your home.
For aroids like monstera and philodendron
Monstera and philodendron roots need air as well as water. A coarse mix leaves more open space:
- 1 part potting soil or compost
- 1 part orchid bark or pine bark chips
- 1 part perlite
- A handful of charcoal (optional, for freshness)
For orchids
Most orchids should not sit in a soil-based mix. A bark blend gives their roots more air. It may use fir or pine bark with charcoal or perlite. It often has no soil or compost.
For seed starting
Seedlings need a fine, light mix. A simple seed blend can use:
- 2 parts coco coir or peat moss
- 1 part perlite or vermiculite
- A small amount of fine compost (optional)
Ingredients explained
Compost
Compost adds plant matter and nutrients. Use a finished batch with an earthy smell. It should not look like fresh food scraps. Home compost, bagged compost and worm castings can all work.
Coco coir
Coco coir comes from coconut husks. It holds water and takes up water again after it dries. Its pH is near neutral. Growers often use it in place of peat moss.
Peat moss
Peat moss holds water and is acidic. That can suit blueberries and some ferns. Bone-dry peat can be hard to wet again.
Perlite
Perlite is a light volcanic glass. It forms air gaps and helps soil resist packing down. It does not add plant food.
Pumice
Pumice does a job much like perlite. It is heavier, so it tends to stay in place when you water. It is less likely to float to the soil surface.
Orchid bark or pine bark
Bark pieces create large air gaps. This is key for orchids and useful for many aroids.
Vermiculite
Vermiculite holds more water than perlite. It is common in seed mixes and blends for plants that like damp soil.
How to mix it properly
- Gather your ingredients in roughly the ratio you want to use.
- Combine them in a large container, wheelbarrow, or tarp spread on the ground.
- Wear gloves and consider a dust mask, since dry perlite and peat can create fine dust.
- Mix by hand or with a small trowel until the texture and color look uniform.
- Lightly moisten the mix before potting, since dry coir and peat resist absorbing water at first.
Storing homemade potting soil
Keep unused mix in a sealed bucket or bag. Store it away from sun and rain. Damp soil can grow mold. A mix with compost is best used within a few months because it keeps breaking down. A dry mineral blend can last much longer.
Should you sterilize your ingredients?
Garden soil, home compost and leaf mold may carry weed seeds, gnat eggs or plant disease. Heat treatment can kill both harmful and useful life in the soil. It can also smell strong. For indoor pots, clean bagged parts are often the easier choice.
Bagged perlite, pumice and coco coir have already been processed. They do not need home heat treatment.
Common mistakes to avoid
Using straight garden soil. Yard soil packs down in a pot and drains slowly. Use little or none of it.
Skipping the drainage part. Compost or peat alone can hold too much water. Add perlite, pumice or bark.
Leaving peat or coir bone dry. Water may run past dry spots instead of soaking in. Dampen the mix before you pot.
Reusing old mix without a check. Look for pests, old roots and hard clumps before you use soil again.
If you'd rather skip the mixing process, a ready-made succulent and cactus mix is a straightforward option for anyone potting up just a plant or two.
Tools that make mixing easier
You do not need special gear. A large tub or wheelbarrow gives you room to turn the mix. A hand trowel or garden fork can break up hard peat and compost. Use a watering can or spray bottle to dampen dry coir. A tarp catches loose perlite when you work outside.
Measure the parts by volume, not weight. A tub, can or spare pot can serve as one part. Use the same scoop for the whole batch. Its exact size does not matter.
Testing whether your mix drains well
Test a new batch before you use all of it. Fill a pot and water it well. Water should sink in and leave through the drain holes. It should not sit on top for many minutes.
You can also squeeze a damp handful. It should hold a loose shape, then break apart when you open your hand. A sticky ball points to too much fine plant matter. Add perlite, pumice or bark. Dust that will not hold at all may dry too fast for a plant in active growth.
Adjusting for climate and pot type
Climate and pot type can change the best ratio. Heat, dry air and clay pots pull water from the mix fast. In those cases, more compost or coir can slow the dry-down time.
Humid air, glazed pots and plastic pots can keep soil wet for longer. More perlite, pumice or bark may help. Soil pots should have drain holes. No recipe can drain well when water has no exit.
Reusing and refreshing old potting mix
Old potting mix tends to break down and pack tight. Compost and coir shrink as they age. Break up hard clumps before reuse. Remove old roots and waste, then check for gnats or root mealybugs.
You can blend one part old mix with one or two parts fresh mix. This saves some new soil while restoring its form. Do not keep reusing the same mix with no fresh parts. It will get more dense each time.
Signs your DIY mix needs adjusting
Watch how plants respond to each batch. Fast wilt between drinks can mean the mix dries too soon. Add more compost or coir next time. Soil that stays wet for days may hold too much water. A sour smell, gnats or yellow lower leaves are more warning signs. Add perlite, pumice or bark, and repot if the roots are at risk.
It is normal to change the ratio over time. Tap water, damp air and light all affect how the mix acts. A recipe that works in one home may need a small change in another.
Frequently asked questions
DIY potting soil can cost less when you fill many pots. It also lets you tune the mix for each plant. The tradeoff is more work and more storage. A home or bagged mix can both work when water drains well and roots still get air.
FAQ
Is homemade potting soil cheaper than store-bought?
Often yes, especially if you buy ingredients like perlite and coco coir in bulk and reuse them across many pots. The savings grow the more plants you have.
Can I use garden soil in a DIY potting mix?
You can include a small amount, but garden soil alone compacts in containers and drains poorly. It's better as a minor addition to a mix built mostly from compost, coir, and perlite.
Do I need to sterilize homemade potting soil?
If you're using garden soil, compost, or leaf mold, baking it briefly in an oven can kill weed seeds, fungus gnat eggs, and pathogens. Bagged coir, perlite, and pumice are already essentially sterile.
How long does DIY potting soil last in storage?
Unmixed dry ingredients like perlite and coir can be stored indefinitely in a sealed container. Once you add compost or other organic matter, it's best to use the mix within a few months.