
Self-Watering Planters
DIY Self-Watering Planter: A Step-by-Step Build
The short answer
A DIY self-watering planter works by nesting a soil-filled container inside a water-holding one, connecting the two with a wick or capillary tube so the soil draws up water as needed, with a fill hole for adding water and an overflow hole to prevent the reservoir from drowning the roots.
Last updated September 2026
| Core parts | Two nested containers, a wick or capillary tube, a fill hole, and an overflow hole |
|---|---|
| Wicking material | Cotton rope, felt strips, or a section of nylon cord all work; synthetic materials resist rotting longer than natural fiber |
| Overflow hole placement | Set at the maximum safe water level, just below where the inner container's soil would sit in standing water |
| Good containers to repurpose | A nursery pot nested in a slightly larger bucket or storage tote, or two stacked food-safe containers |
Scroll for more →
What's covered10
Your choice of diy self watering planter affects water and air around the roots. Compare diy self watering planter by drainage, water storage, and fit for the plant. Use this diy self watering planter guide to see the main trade-offs.
- A DIY self watering planter works by nesting a soil-filled container inside a water-holding one, linking the two with a wick or capillary tube so the soil pulls up water as it dries out. A fill hole lets you top off the reservoir without digging into the soil, and an overflow hole keeps the reservoir from filling so high that it drowns the roots from below.
How the system works
- The core idea is capillary action - the same effect that lets a paper towel soak up a spill from a table. A wick made of an absorbent material sits partly in the water reservoir and partly in the soil above it. As the soil dries, its fibers pull water up and outward through the wick, keeping the root zone consistently moist without anyone having to water on a strict schedule. The plant essentially draws water on demand instead of getting a single soak that fades over days.
What you'll need
- An outer container that will hold the water reservoir, watertight and slightly larger than the inner pot.
- An inner container that will hold the soil and plant, either with small drainage holes or replaced by a mesh or fabric bottom that still lets the wick pass through.
- Wicking material, such as cotton rope, felt strips, or nylon cord.
- A drill or something to cut clean holes in both containers.
- Tubing (optional but helpful) for the fill hole, so you can top off the reservoir without removing the plant.
- Potting soil suited to the plant you're growing.
Step-by-step build
Choose your two containers. A common approach is a nursery pot or mesh basket nested inside a slightly larger bucket, storage tote, or watertight container. The inner container needs to sit above the bottom of the outer one, leaving room underneath for the water reservoir.
Cut the overflow hole first. Drill a hole in the side of the outer container at the height you want the maximum water level to sit - just below where the inner container's soil would otherwise be submerged. This prevents overfilling from drowning the roots and keeps the reservoir from overflowing onto the floor.
Set the inner container's height. The inner pot needs to sit above the water line, either resting on a support (like an upside-down cup, a section of pipe, or small blocks) inside the outer container, or held up by its own rim if it's slightly wider than the outer container's opening.
Attach the wick. Thread a length of cotton rope, felt strip, or nylon cord through a hole or gap in the bottom of the inner container so a portion hangs down into where the water reservoir will sit, and the rest sits inside the soil area. Make sure enough wick length reaches down into the reservoir even as the water level drops between refills.
Add the fill tube (optional). A short length of tubing or PVC pipe, positioned so one end sits in the reservoir and the other extends above the soil line, lets you pour water in without disturbing the plant or soil. Skip this step if you're comfortable refilling from the side or lifting the inner pot occasionally instead.
Assemble and add soil. Nest the inner container inside the outer one, making sure the wick hangs freely down toward the reservoir space. Fill the inner container with potting soil suited to your plant, packing it around the wick so the wick makes good contact with the soil rather than sitting in an air gap.
Plant and water in. Plant as you normally would, then water the soil from the top once to help it settle and make initial contact with the wick.
Fill the reservoir. Add water through the fill tube or by pouring carefully around the inner pot until it reaches or approaches the overflow hole's level.
Choosing wicking material
Cotton rope and felt strips are common, affordable choices and work well for most home builds. Synthetic materials like nylon cord resist breaking down in constant moisture longer than natural fiber, which matters if you want the wick to last multiple growing seasons without replacing it. Whatever material you choose, a slightly thicker wick generally moves more water than a thin one, though extremely thick wicks can also hold too much moisture right at the soil contact point.
A pre-made self-watering planter is worth considering if you'd rather skip the build and get a similar watering effect out of the box.
Placing the overflow hole correctly
- The overflow hole is what keeps this system safe for the plant. It should sit at the highest water level you want the reservoir to reach - high enough to give a decent water reserve, but low enough that the bottom of the inner container's soil never actually sits underwater. Water poured in above that level simply drains out the overflow hole instead of continuing to rise.
Maintaining your DIY self-watering planter
- Check the reservoir level periodically until you learn how quickly your specific setup uses water - this varies by plant, pot size, and climate.
- Flush the reservoir occasionally with fresh water to prevent mineral buildup or stagnant water, especially for edible plants.
- Replace the wick if it degrades, particularly natural-fiber wicks, which can break down faster than synthetic ones after months of constant moisture.
Variations on the basic design
The nested-container approach described above is the most common DIY design, but a few variations achieve the same wicking principle with different materials on hand:
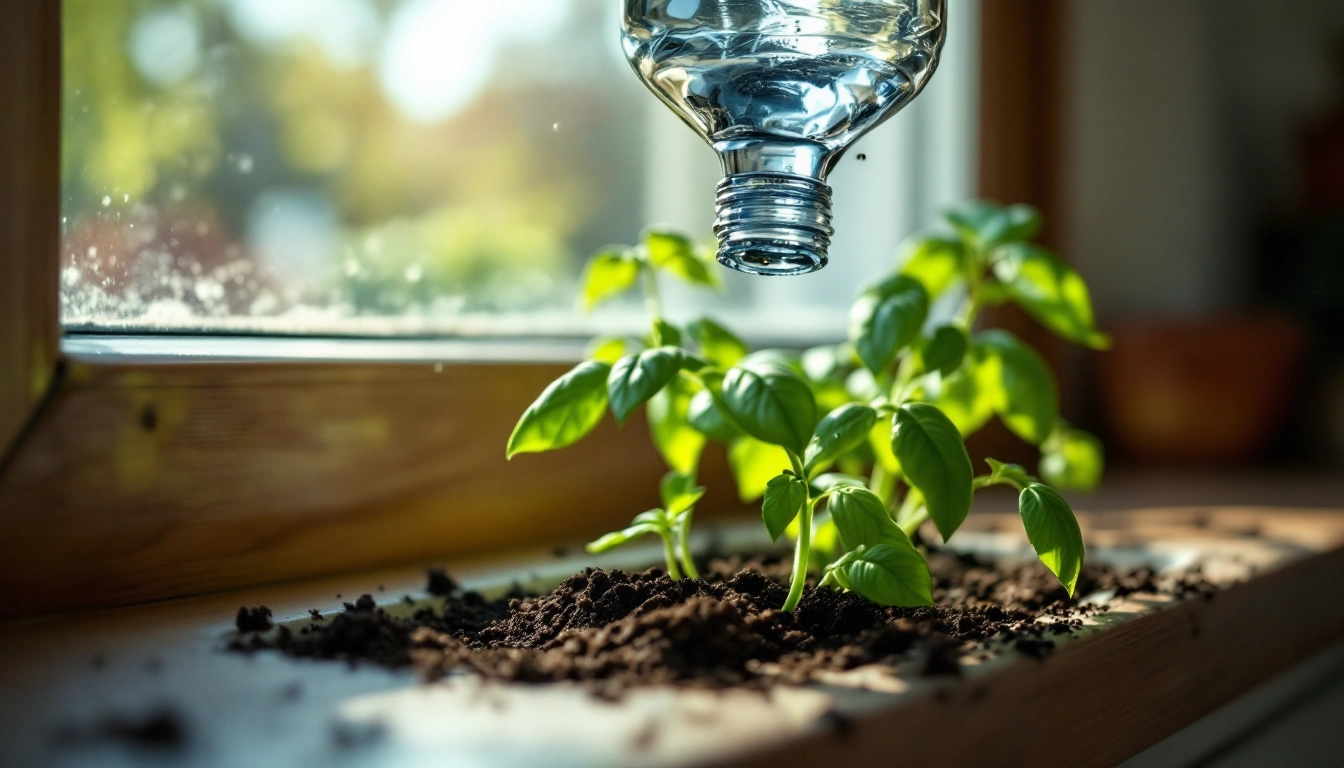
Bottle-based mini reservoirs. A plastic bottle with a small hole in the cap, filled with water and inserted neck-down into the soil, works as a simple slow-release reservoir for a single small pot, though it relies more on gravity and soil moisture pressure than a true wick.
Rope wicking between two separate pots. Rather than nesting containers, some growers run a wick from a plant's regular pot down into a separate water reservoir placed alongside it, which works well when reusing existing pots rather than building a new nested system.
Capillary matting under multiple pots. For several pots at once, a shared tray lined with capillary matting connected to a central reservoir can wick water to multiple containers sitting on top of it, which suits a windowsill or shelf of smaller plants more than a single large planter.
Troubleshooting a DIY self-watering planter
The soil stays too wet. The wick may be too thick for the pot size, or the overflow hole may be set too high. Trimming the wick or lowering the overflow hole usually resolves this.
The soil dries out even with water in the reservoir. Check that the wick actually makes contact with both the water and the soil - a wick that's shrunk, kinked, or pulled loose from the soil won't move water effectively. A wick that's too thin for the pot size can also struggle to keep up with a thirstier plant.
Algae or odor develops in the reservoir. Standing water exposed to light can grow algae over time. Using an opaque outer container, rather than a clear one, blocks light from reaching the reservoir and reduces this. Periodically flushing and refilling with fresh water also helps.
The inner pot won't sit stable above the water line. Adding a support riser - a short section of PVC pipe, an upside-down plastic cup, or a few clean rocks - inside the outer container gives the inner pot a stable platform above the reservoir.
What doesn't suit a self-watering setup
- Plants that need to dry out fully between waterings, like most succulents and cacti, generally don't do well in a self-watering planter, since the constant available moisture works against what those plants need. This build suits vegetables, leafy houseplants, and other plants that prefer steady, consistent moisture instead.
Bottom line
- A DIY self-watering planter is a straightforward build once you understand the four core parts: two nested containers, a wick that moves water by capillary action, a fill point, and an overflow hole to cap the water level. For ready-made options, see the self-watering planter guide or compare a self-watering device for plants.
FAQ
How does a wick actually pull water up into the soil?
It works through capillary action, the same effect that lets a paper towel soak up a spill. The wick's fibers create tiny gaps that pull water upward and sideways into the surrounding soil as the soil dries out, without needing any pump or power.
How often do I need to refill the water reservoir?
It depends on the plant, pot size, and climate, but many DIY self-watering setups need refilling every one to two weeks rather than every few days. Check the reservoir through the fill tube or a clear section until you know your specific setup's rate.
Can I use any container for the reservoir?
Most watertight containers work, but avoid anything that previously held chemicals or isn't food-safe if you're growing edible plants. A container with straight or slightly tapered sides makes it easier to nest a second pot inside without gaps.
Do self-watering planters work for all plants?
They suit plants that like consistent moisture, like many vegetables and leafy houseplants, better than plants that want to dry out fully between waterings, like succulents and cacti. For those, a self-watering setup can keep the soil too consistently damp.